javascript
javascript_(이벤트와 이벤트핸들러)_22.05.03(day10)
양빵빵
2022. 5. 4. 18:22


<!DOCTYPE html>
<html lang="ko">
<head>
<meta charset="UTF-8">
<meta http-equiv="X-UA-Compatible" content="IE=edge">
<meta name="viewport" content="width=device-width, initial-scale=1.0">
<title>Document</title>
<style>
.box {
width: 100px;
height: 100px;
background: orange;
margin: 20px
}
.box.red {
background: red;
}
.box.green{
background: yellowgreen;
font-size: 25px;
display: flex;
justify-content: center;
align-items: center;
}
</style>
</head>
<body>
<div class="box" onclick="sayHello()"> </div>
<!-- 속성에 이벤트를 넣는다. / 태그에 직접 이벤트핸들러를 입력함 -> 어트리뷰트방식-->
<div class="box red" onclick="grow()"></div>
<div class="box green" onclick="showText()"></div>
</body>
<script>
//이벤트 핸들러 함수 정의
// - 특정 이벤트가 발생했을 때 브라우저가 대신 호출할 함수
function sayHello() {
alert('메롱~~안뇽!!');
}
function grow() {
const $box = document.querySelector('.red');
$box.style.width = '200px';
}
//green박스를 클릭했을 때 박스 정중앙에 '안녕' 이라는
//텍스트가 등장하는 이벤트 핸들러 함수를 정의 하세요.
function showText(){
const $green = document.querySelector('.green');
$green.textContent = '안녕';
}
</script>
</html>


<!DOCTYPE html>
<html lang="ko">
<head>
<meta charset="UTF-8">
<meta http-equiv="X-UA-Compatible" content="IE=edge">
<meta name="viewport" content="width=device-width, initial-scale=1.0">
<title>Document</title>
<style>
</style>
</head>
<body>
<button id="b1">클릭1~~</button>
<button id="b2">클릭2~~</button>
<button id="b3">클릭3~~</button>
<script>
/*const $buttonGroup = document.querySelectorAll('button');
$buttonGroup = [...$buttonGroup];
const $b1 = $buttonGroup[0];
const $b2 = $buttonGroup[1];
const $b3 = $buttonGroup[2];*/
const [$b1, $b2, $b3] = [...document.querySelectorAll('button')];
//이벤트 핸들러등록-프로퍼티방식
const sayHello = function () {
alert('안녕하세요~~~');
};
$b1.onclick = sayHello;
$b2.onclick = sayHello;
$b3.onmouseenter = () => {
$b3.style.background = 'red';
}
$b3.onmouseleave = () => {
$b3.style.background = 'yellow';
}
$b3.onmouseleave = () => {
alert('안녕~~잘가요!!');
};
//프로퍼티방식은 동일한 타입의 이벤트에서
//다른 핸들러를 등록할 경우 기존의 핸들러가 사라짐
//이벤트 핸들러 제거
$b3.onmouseleave = null;
/*
const kim = {
stuNum: 11,
name: '김철수',
grade: 3,
hobby: ['축구', '영화'],
major: null,
study: function () {
console.log('열심히 공부합니다.');
}
}
// 개체에 어떠한 타입을 넣어도 괜찮다. 함수를 넣어도 된다.(함수리터럴로)
console.log(kim.grade); // 3의 값을 보고 싶을때 객체참조 문법
kim.study(); // 객체 안에 있는 함수를 호출 하고 싶을때
kim.grade = 4; // grade key의 값을 4로 바꾸고 싶을 때.
kim.study = function () { // study key의 값을 다른 함수로 바꾸고 싶을때.
console.log('열심히 공부할까??');
}
kim.study();
console.log(kim);
*/
</script>
</body>
</html>


<!DOCTYPE html>
<html lang="ko">
<head>
<meta charset="UTF-8">
<meta http-equiv="X-UA-Compatible" content="IE=edge">
<meta name="viewport" content="width=device-width, initial-scale=1.0">
<title>Document</title>
</head>
<body>
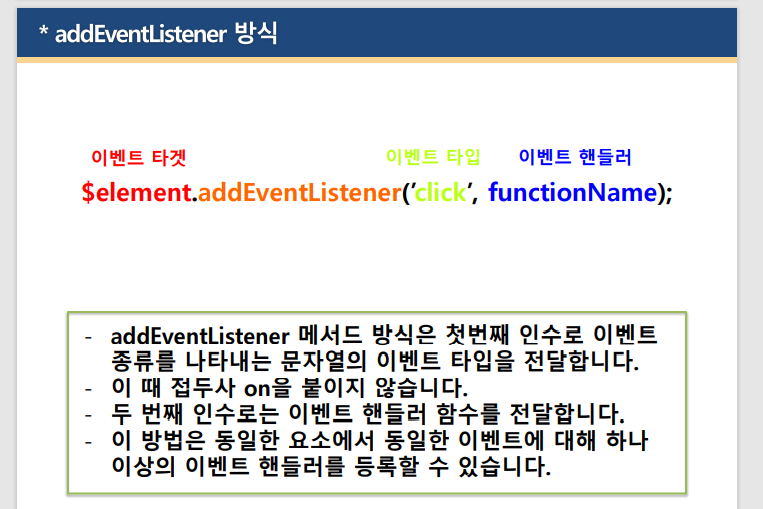
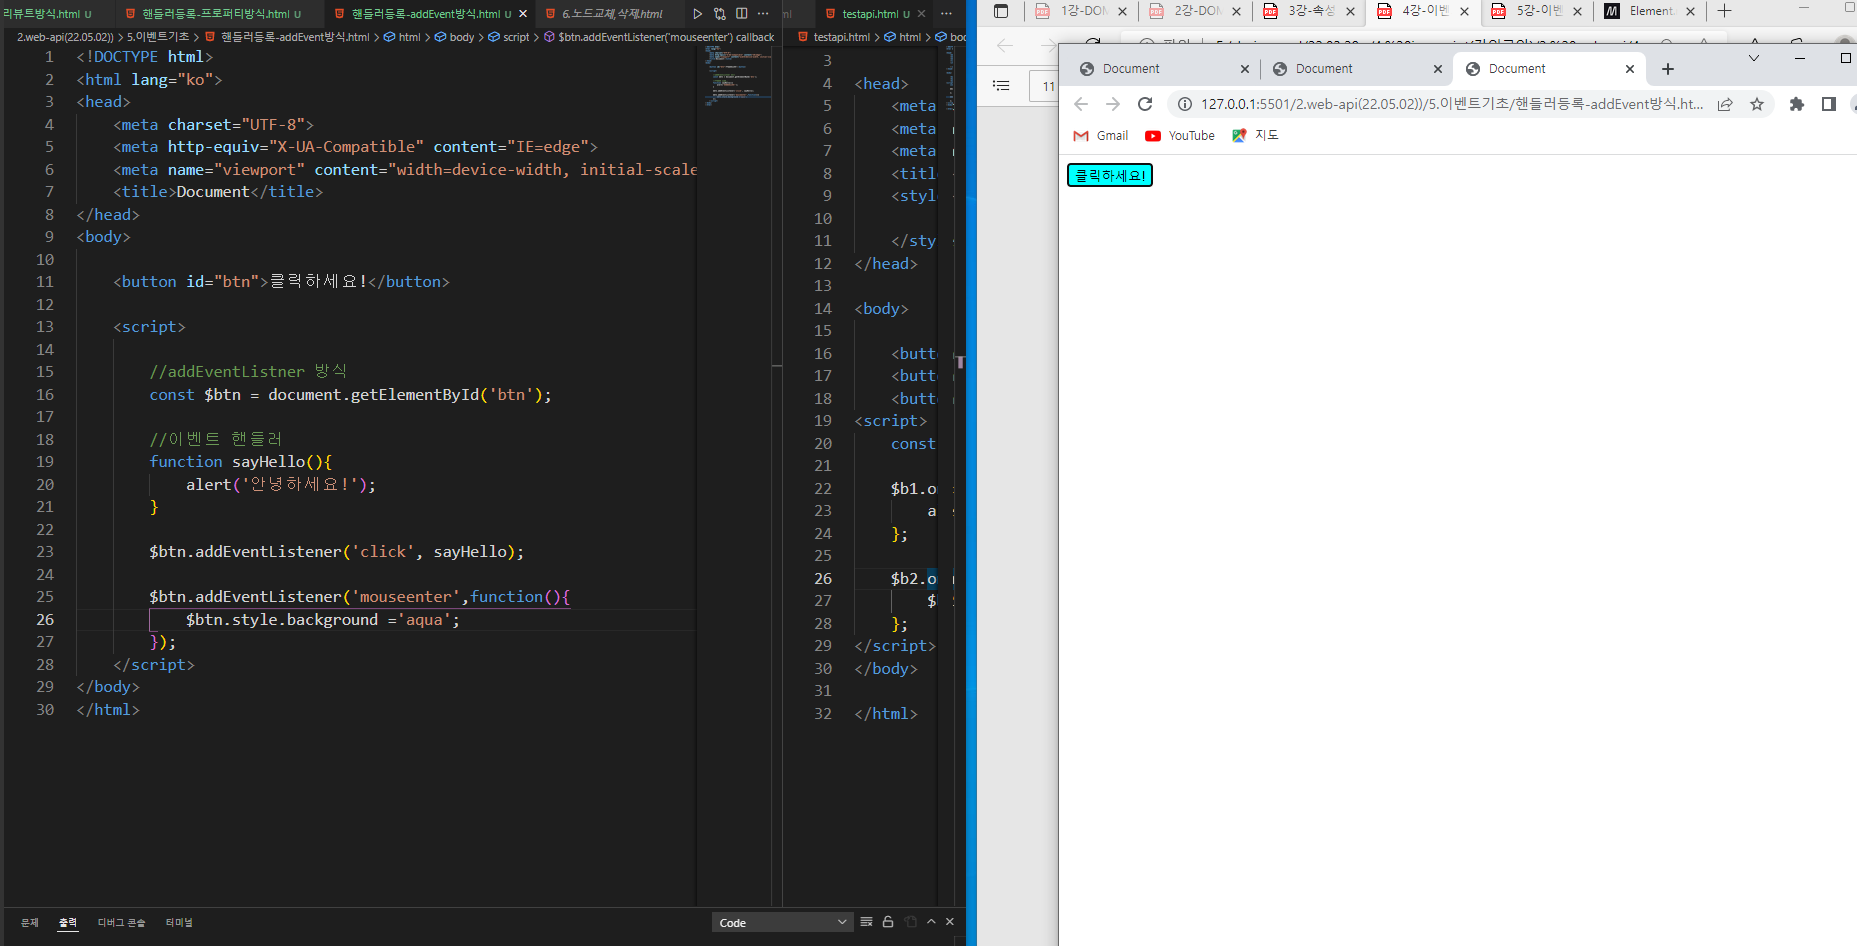
<button id="btn">클릭하세요!</button>
<script>
//addEventListner 방식
const $btn = document.getElementById('btn');
//이벤트 핸들러
function sayHello(){
alert('안녕하세요!');
}
$btn.addEventListener('click', sayHello);
$btn.addEventListener('mouseenter',function(){
$btn.style.background ='aqua';
});
$btn.addEventListener('click',function(){
$btn.style.color='red';
});
//프로퍼티 방식일 경우 위에 sayhello click 이벤트가
//아래의 click 함수로 인해 사라지지만
//addEventListener는 둘다 쓸수 있다.
// 용도에 맞게 사용 하면 된다.
//이벤트 핸들러 제거 [단점: 이름이 없는 함수는 제거를 못함]
$btn.removeEventListener('click',sayHello);
</script>
</body>
</html>